Jupyter Notebook
Jupyter Notebook is an open-source web application that allows you to create and share documents that contain live code, equations, visualizations and narrative text.
Advantages of Jupyter Notebook:
- They’re great for showcasing your work. You can see both the code and the results
- It’s easy to use other people’s work as a starting point. You can run cell by cell to better get an understanding of what the code does
- Very easy to host server side, which is useful for security purposes. A lot of data is sensitive and should be protected, and one of the steps toward that is no data is stored on local machines. A server-side Jupyter Notebook setup gives you that for free
- Using Jupyter Notebook will allow for the project to be edited solely on the server side, resolving the problem of storing local versions of the project
- All developers can work on the project simultaneously and set up the project so we can make real time changes
- The feature of running the code cell by cell, this will give the user a better understanding of what the code does
Disadvantages of Jupyter Notebook:
- When we’re writing code in cells instead of functions/classes/objects, you quickly end up with duplicate code that does the same thing, which is very hard to maintain
- Don’t get the support from a powerful IDE
- It’s hard to actually collaborate on code with Jupyter — as we’re copying snippets from each other it’s very easy to get out of sync
This section contains a guide for how we setup our project using Jupyter Notebook:
- Open a terminal and connect to a the project using "ssh"
- Once connected, navigate to the directory where your project is located and enter the following command
- The Jupyter Notebook server will start, click on one of the links that is provided in the console
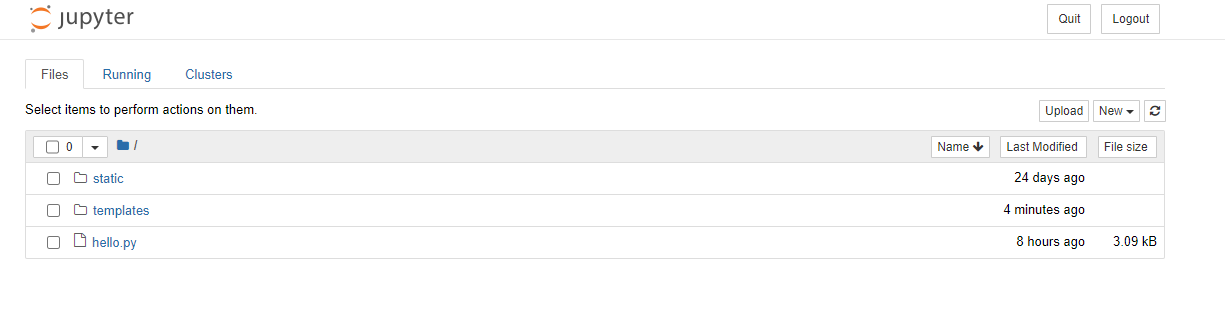
- Once the link open's, you will be redirected to the home page where you will see your project.